
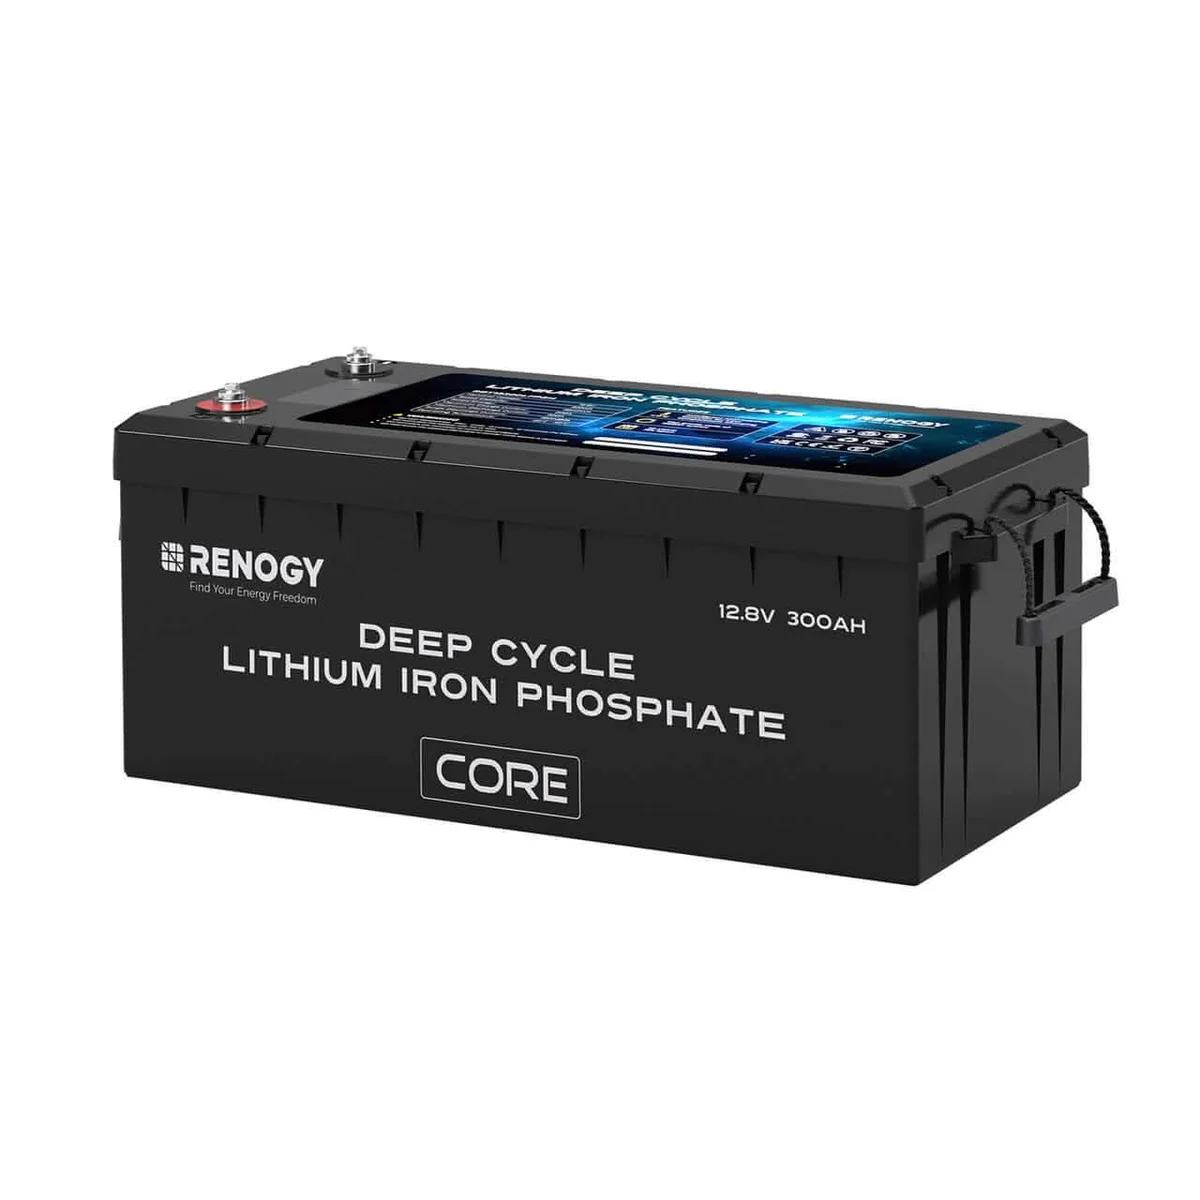
Size capacity to your actual nights
Audit one real travel day in amp-hours: fridge draw overnight, furnace fan runtime, lights, pumps, and inverter loads. Size the bank to cover your longest unplugged stretch plus 20% margin — then round to standard capacities (100Ah, 200Ah, 300Ah).
Remember usable capacity: lead-acid gives ~50% of its rating before damage, quality LiFePO4 gives nearly 100%. A single 100Ah lithium replaces roughly two 100Ah lead-acid batteries in practice.
- List every load with amps × hours; do not guess the furnace fan — time one real night.
- Add 20% margin, then round up to the nearest standard size.
- Plan the recharge path (solar watts, DC-DC amps, generator hours) alongside the bank size.
Fit, wiring, and charge profiles
Measure the battery box: group 24/27/31 footprints differ, and heated or Bluetooth batteries add height. Confirm cable gauge for your inverter draw — lithium can deliver huge current that exposes undersized factory wiring.
Set every charge source to a lithium profile: converter/charger, solar controller, and DC-DC charger from the tow vehicle. A lead-acid absorption profile chronically undercharges lithium; an equalization mode can damage it.
- Measure box length/width/height before ordering; confirm terminal position and cable reach.
- Verify cable gauge and fuse size for inverter surge current, not just average draw.
- Converter/charger, solar controller, and DC-DC charger all set to lithium/LiFePO4 profile.
- Equalization mode disabled on every source feeding the lithium bank.
Cold weather and monitoring
Standard LiFePO4 cannot charge below freezing — if you camp shoulder seasons, choose self-heating batteries or relocate the bank inside heated space. Discharging in the cold is fine; charging is the constraint.
A shunt-based battery monitor pays for itself in one season: voltage alone cannot tell you lithium state of charge on its flat discharge curve. Size the shunt to your peak inverter current so the reading stays accurate at full load.
- Below-freezing camping: self-heating batteries or bank inside heated space.
- Shunt-based monitor (not voltage-only) sized to peak inverter current.
- Confirm the battery BMS low-temperature charge cutoff is actually enabled.
Solar, alternator, and shore: the full recharge plan
A lithium bank without a recharge plan is an expensive paperweight. Size solar to replace a real day of draw: 200W of flat-mounted roof solar returns roughly 60–80Ah on a good summer day, less than half of that in shoulder-season overcast. Roof space, shading from the AC shroud, and tilt all cut into nameplate ratings — measure your actual roof before buying panels.
The tow-vehicle alternator path needs a DC-DC charger sized to the bank: a 20A unit returns about 20Ah per driving hour, a 40A unit doubles that but demands heavier cable and a larger fuse. Shore power through a lithium-profile converter covers campground nights; confirm the converter breaker and cable gauge handle the charger continuous draw without nuisance trips.
- Daily draw audited first; recharge sized to replace it, not to panel nameplate optimism.
- Every charge source on lithium profile with equalization disabled.
- Cable gauge and fuses sized to continuous charger current plus inverter surge.
Inverter wiring: the install that makes or breaks lithium
The inverter install decides whether lithium delights or disappoints. Size cables to the inverter surge rating with minimal run length, fuse within the cable run near the battery, and torque every lug — loose high-current connections heat, drop voltage, and mimic a weak bank. A 3000W inverter at full surge pulls currents that turn an undersized cable into a heating element.
Ground the inverter chassis per the manual, keep AC and DC runs separated and secured, and confirm the transfer or pass-through wiring cannot backfeed shore power. After install, load-test with your largest real appliance (microwave or air fryer) and watch the monitor: voltage should hold steady, not sag and recover.
- Cables sized to surge, fused near the battery, lugs torqued and rechecked.
- Chassis grounded per manual; AC/DC runs separated and secured.
- Full-load test with the largest appliance before departure.
Troubleshooting: when the new bank underperforms
A lithium bank that dies early almost always has a charge-source problem rather than a bad battery. First confirm every source is actually on a lithium profile — a converter left on lead-acid plus a solar controller on lithium fight each other, and the bank ends each day half-charged with no fault code showing. Next check for a single weak or cold battery in a parallel bank: one BMS in low-temperature cutoff drags the bank reading down and confuses the monitor.
Then chase voltage drop: undersized cables, loose lugs, and corroded grounds each steal capacity by cutting charge voltage below what the BMS needs to finish balancing. Measure voltage at the battery terminals during charging and again at the charger output — a gap of more than a few tenths of a volt under load points at the cable run, not the cells. Finally, confirm phantom loads: propane detectors, stereo memory, and inverters with no disconnect drain a bank over storage weeks.
- All charge sources verified on lithium profile; no equalization anywhere.
- Parallel batteries temperature-checked; no single unit in cutoff.
- Cable voltage drop measured under load; phantom draws isolated in storage.
Cost math: what the upgrade really pays back
Price the upgrade as a system, not a battery: batteries plus a lithium-profile converter if needed, a DC-DC charger, a shunt monitor, and cable and fuse upgrades. Against that, credit two lead-acid replacement cycles you will not buy, the generator hours you will not burn recharging inefficiently, and the campsites you can use without hookups.
The payback favors heavy off-grid users fastest — full-timers and boondockers commonly recover the premium within a few seasons of avoided generator fuel and hookup fees. Weekend hookup campers break even slower but still gain faster charging, lighter tongue weight, and maintenance-free storage. Buy the bank for the camping you actually do: an oversized bank without the recharge to fill it is the most common money wasted in lithium upgrades.
- System priced whole: batteries, charging, monitoring, wiring.
- Recharge path confirmed capable of filling the bank you buy.
- Bank sized to real audit plus margin — not to catalog optimism.
Swap-day checklist
Photograph the old wiring before touching it, label every cable, and land lithium on clean torqued terminals with the correct fuse within the cable run. Power up one charge source at a time and confirm each reports a lithium profile before leaving the driveway — a single source left on lead-acid will fight the rest of the system all season.
- Old wiring photographed and labeled; terminal torque and fuse confirmed.
- Bank secured against movement; venting and clearances per the manual.
- Each charge source powered up individually and verified on lithium profile.
- Monitor reading sane at rest and under a known load before departure.
Weight, tongue, and axle: the numbers owners forget
Lithium saves serious weight — a 200Ah lithium bank can weigh 60+ pounds less than the lead-acid pair it replaces — and that changes tongue weight and axle loading. Re-weigh the tongue after the swap: a lighter tongue on a bumper-pull can induce sway that the old batteries were quietly preventing. Move the bank or redistribute cargo so tongue weight stays in the 10–15% range for travel trailers.
Axle and cargo math improves but still needs checking: confirm the freed payload is used deliberately (water, gear) rather than accidentally overloaded, and secure the lighter batteries against movement with brackets rated for the new footprint. A lithium battery bouncing in an oversized lead-acid tray cracks terminals and voids warranties — measure the tray and fit hold-downs that actually grip the new case size.
- Tongue re-weighed after the swap; weight redistributed to hold the 10–15% range.
- Hold-downs fitted to the lithium case size; terminals protected from shifting cargo.