
Find the real model number
Remove the interior ceiling assembly (four bolts, power off) and read the white label on the rooftop unit base pan. You want the 48000/49000-series number plus the full suffix — e.g. 48209-0694 versus 48209-0665 are different builds with different control kits.
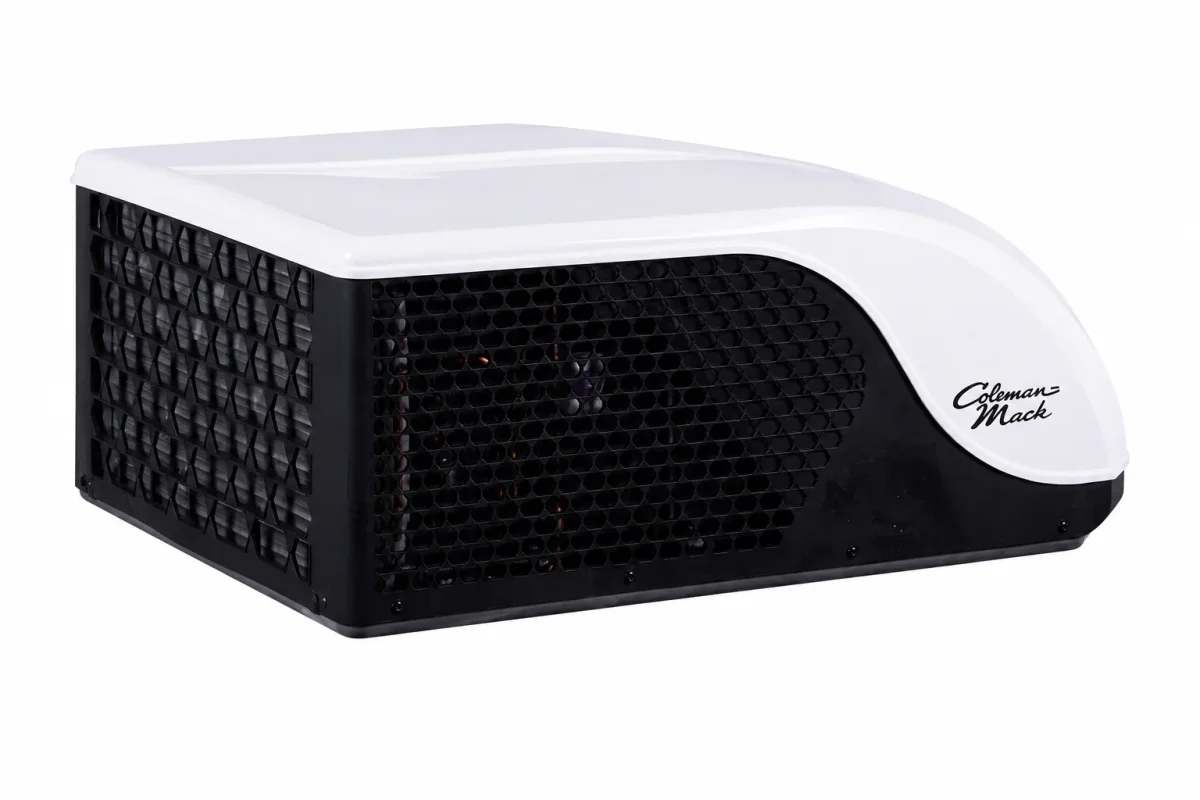
The exterior shroud part number (often an 8335-series) identifies the plastic cover only. It does not identify the AC: the same shroud fits multiple series. When a listing asks for the series number, it means the base-pan label — never the shroud stamping.
- Power off, pull the ceiling assembly, read the white base-pan label.
- Copy the full number including suffix: 48209-0694 is not 48209-0665.
- Shroud 8335-series numbers identify the cover only — record separately.
- Photograph the label straight-on; roof sun glare washes out suffixes.
Match BTU, voltage, and heat
Confirm three things before ordering: cooling capacity (13,500 vs 15,000 BTU), supply (115V vs 230V/240V export and most Mach 10 roughneck builds), and whether the unit has a heat pump or heat strip. A 15k heat-pump control kit will not correctly drive a cool-only unit.
Motors are matched by part number and rotation/direction stamping on the old motor — frame size alone is not enough. A motor that bolts in but spins the wrong direction moves no air and trips on thermal overload within the hour.
What to photograph
One straight photo of the base-pan label, one of the control box wiring, and one of the old part next to a tape measure. Those three images resolve nearly every "which variant" question without a second trip onto the roof.
For control-kit orders, add a fourth: the thermostat/ceiling assembly face. Analog, digital, and Bluetooth ceiling assemblies pair with different kit revisions, and the suffix on the listing is what ties them together.
- Photo 1: base-pan label straight-on, suffix readable, no sun glare.
- Photo 2: control box wiring showing wire colors and connector layout.
- Photo 3: old part next to a tape measure for size confirmation.
- Photo 4 (control kits): thermostat/ceiling assembly face — analog, digital, or Bluetooth.
Airflow, coils, and thermostat placement
Weak cooling with a running compressor is usually an airflow problem, not a parts problem. Pull the return filter, wash the evaporator coil fins straight with a soft brush, and confirm the condenser coil on the roof is not packed with cottonwood or dust — a matted condenser raises head pressure until the compressor cycles on thermal overload.
Thermostat placement matters more than owners expect. A thermostat mounted in direct sun or above a heat source short-cycles the unit; one buried behind a slide-out reads stale air. Confirm the ceiling-assembly temperature sensor position matches the manual, and check that supply vents are open — closing vents to "push air" to one room starves the coil and freezes it.
- Filter washed, evaporator fins brushed straight, roof condenser cleared.
- All supply vents open; no furniture blocking returns.
- Thermostat/sensor position matches the manual — out of sun and heat sources.
Capacitors, contactors, and the electrical path
The run capacitor is the cheapest part that mimics a dead compressor: a swollen or leaking can, or one reading more than 10% off its microfarad rating, explains humming startups and tripped breakers completely. Test with the power off and the capacitor discharged — a screwdriver short across terminals on a charged can is how fingers get burned.
Contactors weld and pit from years of full-load switching; pitted contacts drop voltage to the compressor until it stalls on overload. Inspect the contactor points for blackening and test voltage drop across closed contacts — more than a small drop means replacement. Hard-start kits help aging compressors, but they do not fix a failed capacitor or a welded contactor, so test those first.
- Run capacitor tested against its microfarad rating — replace beyond 10% drift.
- Contactor points inspected; voltage drop across closed contacts checked.
- Power off and capacitor discharged before any electrical test.
Common misorders and how to avoid them
The three returns we see most: a 15k control kit ordered for a 13.5k unit, a Bluetooth-kit ordered for an analog ceiling assembly, and a motor matched on frame size that spins the wrong direction. Each is a five-minute label check at ordering time versus a freight return later.
Soft-start and capacitor questions deserve the same discipline: match the kit to your series and refrigerant (R410A vs R32 matters on newer builds), and confirm the run-capacitor microfarad rating on the old can before substituting.
Thermostat and ceiling assembly pairing
Coleman ceiling assemblies come in three generations — legacy analog sliders, digital wall thermostats, and Bluetooth or app-controlled assemblies — and each pairs with specific control-kit revisions. A kit that powers up but never answers the thermostat is almost always a generation mismatch rather than a defective kit: the suffix on the listing names which ceiling assemblies it drives, so confirm yours before ordering.
After install, test every mode in order: fan-only first to confirm blower speeds, then cooling with a thermometer at the vent, then heat strip or heat-pump mode if equipped. Check zone or addressing settings against the kit instructions — multi-zone and ducted installations need the correct assignment or the second unit fights the first.
- Ceiling assembly generation identified before the kit is ordered.
- Kit suffix confirmed to list your thermostat or assembly.
- Every mode tested after install: fan, cool, heat, with zones assigned correctly.
Seasonal maintenance that prevents parts orders
Each spring, wash the evaporator filter and brush the roof condenser coils straight, then inspect the shroud for UV cracking — a cracked shroud admits rain directly onto the control box and fan motor. Check the roof gasket for compression set and re-torque the mounting bolts evenly to spec: overtightening crushes the gasket and causes the exact leak owners blame on rain, while loose bolts let the unit rock and crack the condensate pan.
In fall, run the heat strip or heat pump before cold weather arrives, test the run capacitor against its rating, and fit a breathable cover only — plastic tarps trap moisture and corrode the control box over winter. Log the capacitor reading and bolt torque each year: trends beat surprises, and a capacitor drifting off rating gets replaced on your schedule instead of on a holiday weekend.
- Spring: coils cleaned, shroud inspected, gasket and bolt torque checked.
- Fall: heat mode tested, capacitor reading logged, breathable cover fitted.
- Capacitor replaced on drift trend, not after a peak-season failure.